Tuesday, January 24, 2017

San Clemente (Setting the scene)


Since nobody could tell me exactly which color the windows and doors were painted in, I used a bit of modelers license and painted them turquoise. This is a color which I often saw on stucco structures and also used on several Santa Fe depots in the Southwest.


Test fitting the depot on the layout.


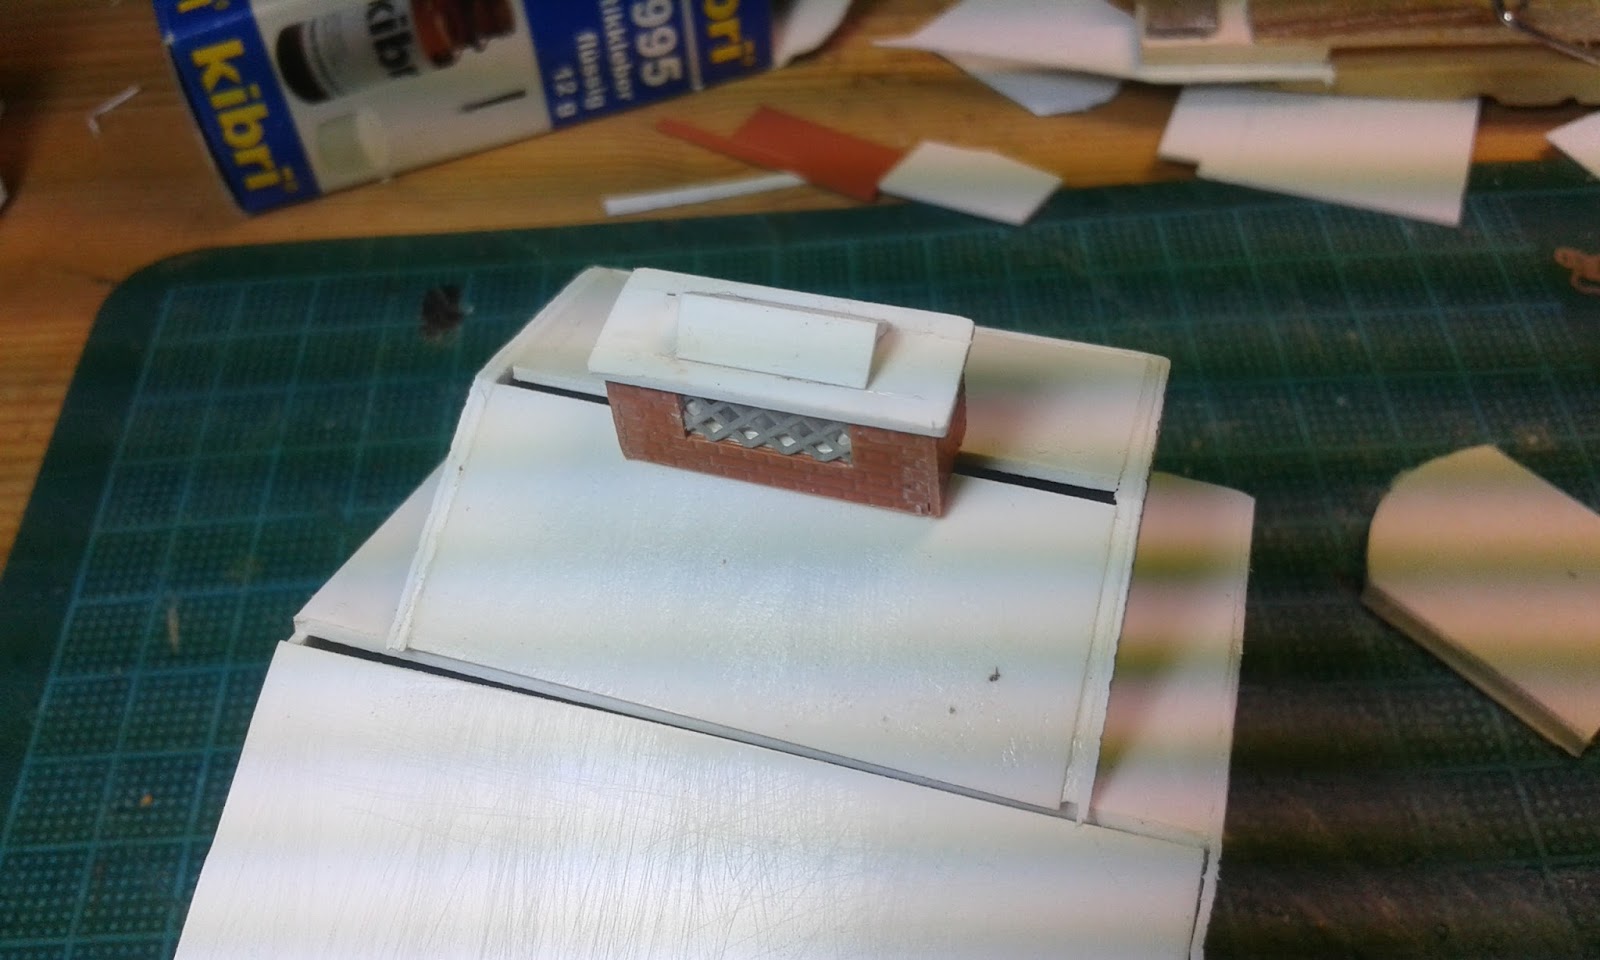
The finished outhouse.


From the photos, I copied the depot lettering and tried to reproduce it as best as I could. I used the carbon copying method, by blackening the back of the paper with my pencil and pasting it directly on the wall.


It worked out quite well.


With a black marker pen I followed the pencil lines. I'm not totally happy with the outcome, because the lettering turned out to be too bold. I will probably redo it with a finer marker.


I glued a sheet of scale lumber to the baseboard to represent the concrete base and platform for the depot. After the glue had dried I painted it a concrete color.


Then I started with the scenicking of the depot scene. As ground cover I used real beach sand which I collected at the beach in Belgium near our annual vacation resort. I sifted the sand to remove small pebbles and clamshell debris and fixed it with a mix of white glue and distilled water. I wetted the entire area with a spray bottle of wet water (Isopropyl Alcohol added to the distilled water)


Woodland Scenics ground foam and static grass was applied while the ground was still wet.


There are still some details missing, but palm trees are so characteristic for Southern California, so that I had to plant these first.

Half of the depot area is finsihed. The rest to the far end of the room will follow after I modeled the bluffs to the left side against the backdrop and the large rocks protecting the tracks from being washed away by the waves. Unfortunately there will only be a very small strip of beach left.

As always, stay tuned for updates.

San Clemente Outhouse

The only other structure near the San Clemente Depot was the outhouse. Like the depot it was a stucco structure in the Spanish Revival style with red tiled roof.


It is only partly visible in the foreground of the above picture. The other pictures from trackside shows enough to approximate its appearance.


Construction of the four walls is staight forward using .040" plain styrene sheet. I braced the corners with .080 x .080 square styrene strips.


I nibbled the door openings with the Micro Mark nibbler tool.


I could not cut out the small windows with the nibbler tool, so I drilled holes in each corner to guide my hobby knife. With a small file I made the final adjustments for the small windows to fit properly. I used small Grandt Line four-pane windows inserted from inside to make them look like masonry windows. The wood frame serves as glueing surface inside the building.


Construction of the roof was some kind of trial and error. I glued a narrow strip of styrene along the center for the peak of the roof. Then I measured and approximated the triangular roof parts and glued them in place as shown in the pictures above.


The same procedure was applied for the trapezoidal roof parts.


After the glue had set, I glued the ridge tiles in place.


Now the little structure was ready for the paint shop


Finished model on the layout. As a final touch I added the mortar lines along the ridge tiles with light grey paint applied with a small brush.

Wednesday, January 18, 2017

San Clemente, CA on my layout

Another signature stop on my home layout, besides San Juan Capistrano, is San Clemente. Here's where the Surf Line really hits the surf or in other words the Pacific Ocean. The tracks line the ocean only a couple of feet away and getting off the train you are on the beach right away.


San Clemente gained a new depot in 1931. Built by the ATSF, the one-storey structure was designed in the Spanish Revival style; a low gabled roof of red tile sheltered walls of white stucco. It was a combination depot with a freight room at one end, indicated by a heavy wood door and lack of windows. The passenger waiting room was marked by a small pavilion with a segmented arch entryway. The depot only remained opened nine years before it was closed and then torn down in 1964. (exerpt from http://www.greatamericanstations.com)


There are not many pictures or information about the tiny stucco depot. I had to start from these few pictures, a drawing and the dimensions of its foot print.


The drawing of the depot is on the first pages of the Coast Line Depots book and at least shows the trackside view of the depot. I enlarged the drawing on a copier until I reached the scale length of the building. Verifying the height of standard door and window sizes, I finally had a pretty good plan to work from. I approximated the depth of the depot and comparing it with the photos I was ready to start my next scratchbuilding project.


I must admid, that the beginning of the construction already started almost six years ago. I completed the freight room and the office building to the stage in the above picture. Other commitments and projects had higher priorities that this depot.


The passenger shelter was the next segment of the depot that I built. By looking at the pictures and the drawing it looks like the depot was built in three steps, like I did. Not only the different building parts are unique, but also the orientation and the shape of the three roofs.
It is certainly easier to build a standard structure under one roof, than this one. But that's what makes if a special challenge.


On the passenger shelter roof there is another smaller roof topped off with an ornate chimney. The slope of the smaller roof is the same than the main roof.

I built the chimney from scrap bits and pieces.


The walls of the chimney are brick sheet and the diamond shaped elements are from a piece of Kibri styrene chain link fencing. The top cover is a piece of angle stock.


The walls were all built using plain styrene sheet. To achieve the stucco finish I used stucco sheets made by Plastruct, laminated to the plain walls.


Then I glued the three building segments together.


All I could guess from my available pictures was one rear window. The freight room had no windows and the passenger shelter an arched opening to the rear also.


Now the depot is basically ready for the paint shop.


This will be the location of the depot on my layout.


This was a somehow challenging build, but again it is aother signature structure that I'm proud to have on my Surf Line.

Stay tuned for another structure built from pictures only, the San Clemente outhouse.