When I finally got back to it, I wasn't happy with what I had already accomplished on the tank house. The supporting structure wasn't trapezoidal enough, compared to the pictures and there were also other flaws in the construction of the roof etc. So finally I decided to start all over again.

On the picture above you see the "old" tank house, and in front of it, the new one.

The basic construction techniques stayed the same, so I don't cover these again except for some additional details I've added. You'll easily recognize the difference between both models. Above you see a first test-fit with the windmill.

During my research and the study of the six pictures from the Library of Congress site, I've found out that there are actually two more windows, one to the east and one on the north side. Using the same tried and true method, I also incorporated these windows into my new construction.

While I was at it, I also fitted a floor in. I built the enclosed tank to be removable and thought about adding an interior to the second floor. These parts of the tankhouse were often used as storage room, or housing for crop workers.

The tank top with the triangular parts for the roof supports, before assembly.

The ventilation slats are represented with rectangular pieces of clapboard siding, framed with strip styrene. Note the peaked trim and the sill. These are details I did not do on the first model.
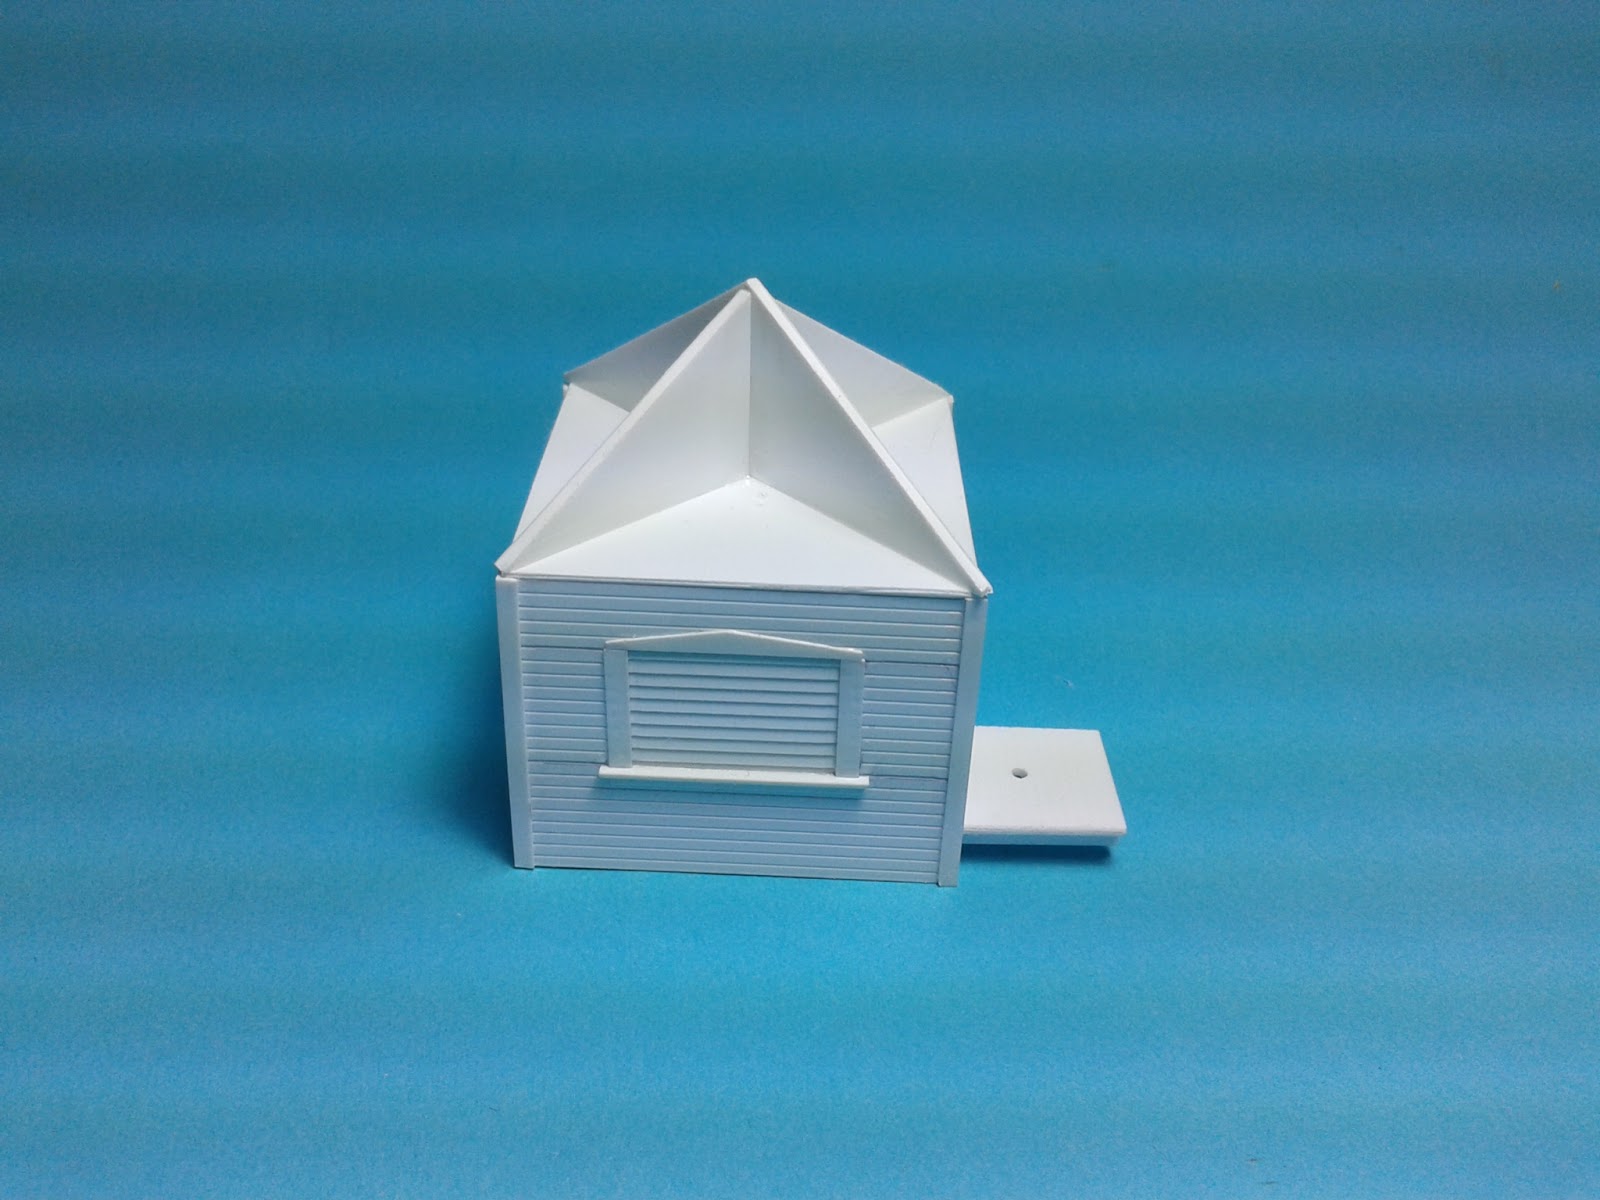
The finished roof supporting assembly is covered with .020" scribed styrene siding with the plain side up, simulating the boards when viewed from below.

I've cut bits of 2x4 strip styrene to represent the rafters. The roof has a two foot overhang on each side, so the rafters are visible and need to be there.

The finished rafters. Note the roof cut-out for the windmill.


With the roof completed, I test-fitted the sub-assemblies to check the overall appearance. You probably noted that the windmill is a different one. Meanwhile I decided to use the finer detailled Van Dyke windmill from Walthers.
I shortened the legs and only used the upper part of the frame.
Please drop by, to see the finishing touches.
Looking good! Another signature structure that will really set the scene.
ReplyDeleteThanks Colin.
DeleteOutstanding.
ReplyDeleteThank you Patrick
Delete