On my previous layouts I used "traditional" benchwork with brackets bolted to the walls of the layout room.
One big problem I encountered with this system was that the spacing of the brackets never fit the needs for storing boxes or crates under the layout. Either they were too far apart or too narrow, leaving useless space in between. Another disadavantage in my opinion is the fact that construction is more timeconsuming with constantly leveling everything out.
When we moved into our new house back in 2007, I had so many boxes with rolling stock and structures that there was no way in moving everything to the new house and then starting to build the layout. I just did not have enough store room for everything.
I decided to set up IKEA Ivar shelves along my two layout rooms and filled the racks with my boxes as soon as I had another shelf standing. I had planned this step a couple of weeks ahead of our moving so that I had no boxes with material standing in my way.
Before I set up the racks I built L-girders from two 1 x 2's and screwed
them along the walls of my layout rooms, at the height (124 cm) so that
the legs of the shelves fit right underneath. I advanced one leg after
the other, always fitting shelves in between as I went along. Then I
screwed the legs to the L-girder to keep them from moving.
Along the front of the legs I screwed another L-girder.
Then I screwed joists to the L-girder to support the plywood sheets on top.
The shelving system did not fit seamlessly into the corners, so I joined the L-girders and screwed them together. With the plywood bases on top the benchwork became sturdy as a rock.
To join the two rooms I had to break a hole into one wall. One leg of my turning wye in Old Town reaches through this hole and saves me space.
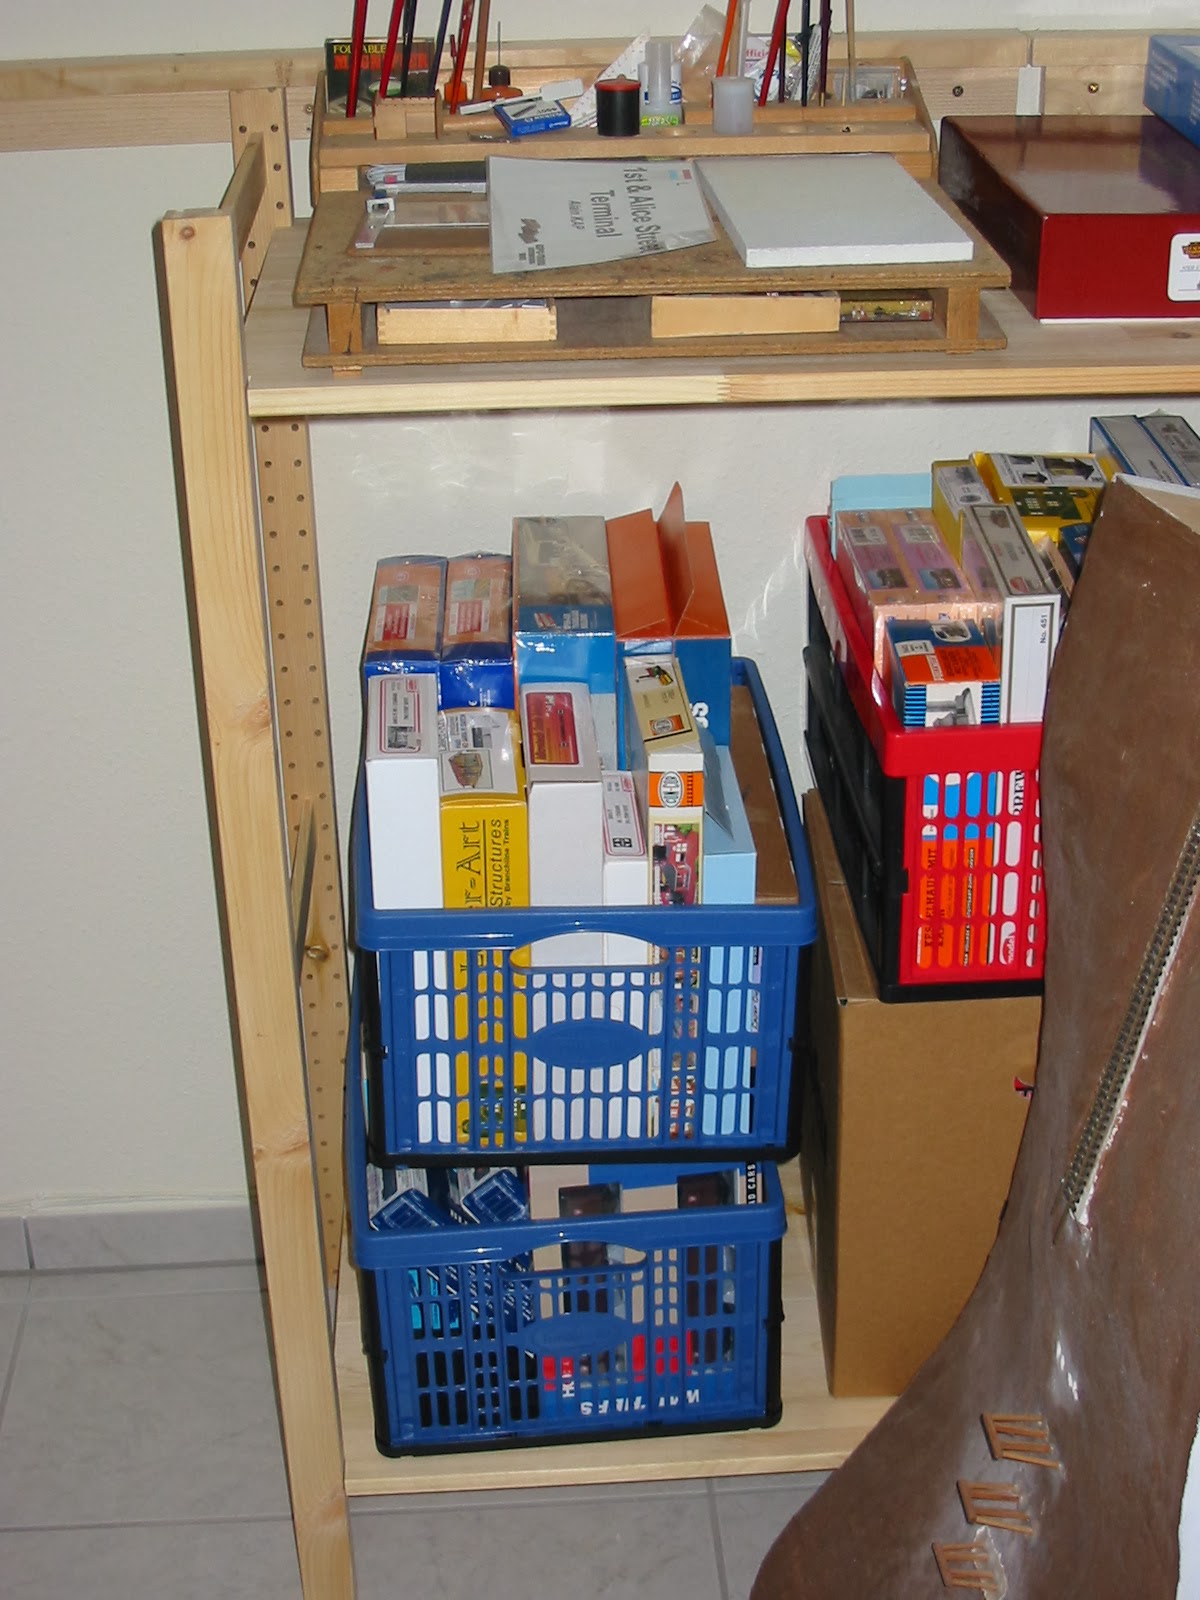
The shelving system is easy to set up and gives a very strong support for the layout. I could even sit on top of it when attaching the lighting system. The shelf boards are clicked into pins so they may be adapted to the size of the storage boxes. All in all its a very rational system.